It was my daughter’s sixth birthday a couple of weeks ago. As any modern mom will tell you, there is no shortage of “mandatory” parties: school party, family party and the “real” birthday party. When considering treats, I took the easy way out and ordered dozens of cupcakes at the local bakery. Obviously one reason was for convenience. But the other reason was that my cupcakes just don’t look that special. Sure, they taste good. But, frankly, they’re a little boring.
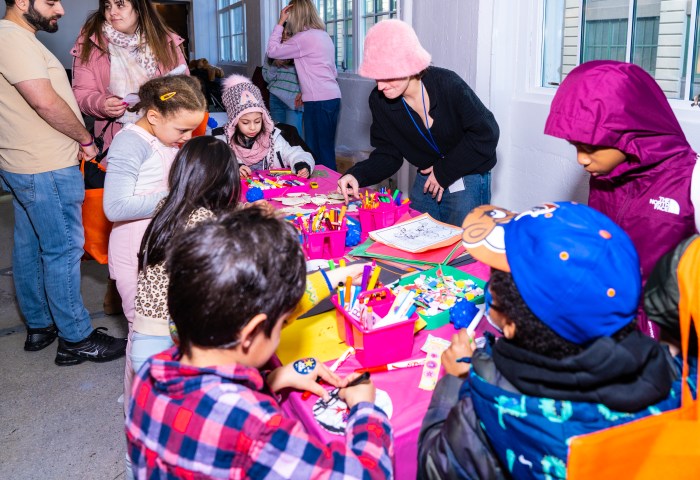
But, no more! Thanks to a cupcake-decorating workshop the other day at Dylan’s Candy Bar, sponsored by Jelly Belly (who it turns out makes a bunch of other things besides jelly beans), I feel empowered, inspired, and cupcake-confident. My daughter Rosa and I, and the other guests, were treated to a hands-on workshop with Alan Richardson and Karen Tack, authors of What’s New Cupcake, Hello Cupcake, and Cupcakes, Cookies, & Pie, Oh, My! They demo-ed four spectacular cupcakes – a red, high-heeled shoe; an pastel-perfect flower; a “grass-topped” cupcake crowned with a candy-filled chocolate Easter egg; and, Rosa’s favorite, a sweet little lamb.
After each demo, it was our turn to decorate. The designs looked complicated and very difficult to achieve. I was frankly skeptical that our cupcakes would even remotely resemble theirs. But with Alan and Karen’s step-by-step directions even my six year-old could make a cupcake that looked darn near professional.
It’s official: Alan and Karen are cupcake superstars. And, happily, I came away with some excellent cupcake decorating tips:
*As Alan said, “more is more.” This is the time to gild the lily and go over-the-top with candy decorations.
*Freeze the cupcakes before decorating them so they don’t get mashed and squashed while you’re turning them into an artistic masterpiece. The chilled cupcake will also help keep the frosting from getting gooshy (technical term). Don’t worry about serving frozen cupcakes. They will thaw completely within an hour or so.
*Don’t settle for boring cupcake liners. Check out a local baking store, craft store, or even your grocery store for colorful cups. You can also order a wide variety online.
*The most important tool in cupcake decoration is an offset spatula. It will run you about eight bucks and change the way you frost forever.
*To spread your base layer of frosting start with a big dollop on your offset spatula. Spread it across the top of the cupcake all the way to the edge of the liner. Wipe the spatula clean (this will get rid of any crumbs) and smooth the top, leaving as much or as little frosting as you desire.
*No need to buy specialty pastry bags and tips to pipe decorative frosting. Use a freezer weight Ziploc, fill it halfway with
frosting, snip a corner, and pipe. Don’t be cheap! Use the freezer-weight bag. I have learned from experience that a regular sandwich baggie does not do the trick.
*Warm frosting is the enemy. If your kitchen is warm, keep half of your icing in the fridge while you’re working with the other half.
*Other than the offset spatula, there’s no need to buy specialized tools. Use what you have around the house: scissors, tweezers, toothpicks, a serrated knife… Put all of these tools in one place and call it your cupcake pantry.
*Karen and Alan believe all candy and sweets are fair game for cupcake decoration from marshmallows to jelly beans, Milano cookies, and candy corn. Don’t be afraid to cut them or tweak them any way you’d like.
*And here’s a tip from me: go ahead and buy your frosting. Duncan Hines is delicious, and really, these are just cupcakes! Save your energy for the decorating fun.
The one downside (or perhaps it’s an upside) of the experience: our cupcakes were almost too cute to eat. Almost.
–Jenna Helwig, Rosaberry
